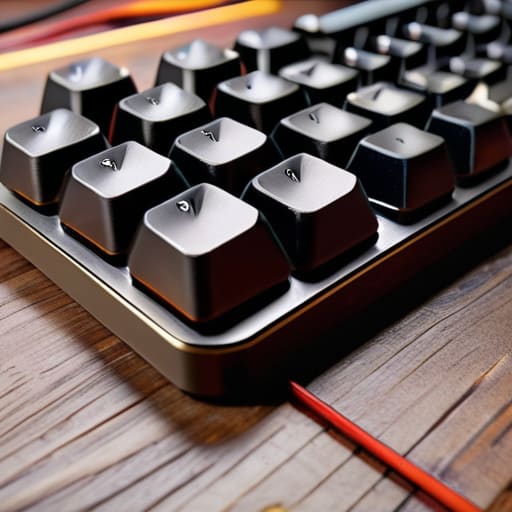
I remember sitting at my desk three years ago, staring at a pile of expensive switches and a PCB, feeling completely overwhelmed by the sheer amount of gatekeeping in the enthusiast community. Everyone makes it sound like you need a degree in electrical engineering or a thousand-dollar budget to get started, but that’s a lie. The truth is, learning how to build a custom mechanical keyboard isn’t about having the most expensive parts; it’s about understanding the tactile feedback and the way a well-tuned tool responds to your specific intent. It’s about moving away from mass-produced plastic and toward a piece of hardware that feels like an extension of your own hands.
In this guide, I’m stripping away the jargon and the unnecessary hype to give you a systematic approach to assembly. I won’t waste your time with “aesthetic” trends that don’t improve performance; instead, I’ll show you how to select components that actually matter for your typing experience. You’ll learn the practical nuances of lubing switches, mounting plates, and testing your connections so you can walk away with a device that is built to last. Let’s stop settling for mediocre input and start engineering something better.
Guide Overview
Tools & Supplies
- Precision screwdriver set for case assembly
- Keycap puller for installing keycaps
- Switch puller for removing switches
- Tweezers for testing electrical connections
- PCB (Printed Circuit Board) 1 unit
- Keyboard Case 1 unit
- Mounting Plate 1 unit
- Mechanical Switches 60-110 units
- Stabilizers 1 set
- Keycap Set 1 set
- USB-C Cable 1 unit
Step-by-Step Instructions
- 1. Before you touch a single component, you need to perform a comprehensive inventory check. Lay everything out on a clean, static-free surface—your PCB, the plate, switches, stabilizers, and keycaps. I’ve learned the hard way that missing a single tiny stabilizer clip can derail an entire afternoon of work, so treat this like preparing a laboratory workspace. Ensure your PCB is compatible with the mounting style of your case and that your switch pins match your socket type.
- 2. Next, we address the stabilizers, which are the unsung heroes of a tactile experience. Most builders find success by lubricating the housings with a high-quality grease like Krytox 205g0. This isn’t just about reducing noise; it’s about eliminating the metal-on-plastic rattle that breaks your immersion. When you snap them into the PCB, do so with deliberate pressure to ensure they are seated perfectly before you move on to the switches.
- 3. Now, it’s time to populate the PCB with your chosen switches. If you’re using a hot-swap board, this is incredibly satisfying, but you must be meticulous with pin alignment. I always double-check that every single metal pin is perfectly straight before pressing the switch into the socket. If you feel even a hint of resistance, stop immediately and re-examine the pin; forcing a bent pin into a socket is a quick way to ruin a perfectly good board.
- 4. Once the switches are in, it’s time to marry the PCB and plate to the case. This is where the structural integrity of your build is determined. Depending on your mounting style—whether it’s gasket mount or tray mount—you’ll be securing the assembly into the housing. I prefer a gasket mount for that slightly softer, more forgiving typing feel, but regardless of your choice, ensure the screws are tightened in a cross-pattern to distribute pressure evenly.
- 5. Before you get lost in the aesthetics, you must perform a functional circuit test. Plug the board into your computer and use a software tester to ensure every single keypress is registering correctly. It is much easier to troubleshoot a single faulty switch now than it is to disassemble the entire unit once the keycaps are on. If a key fails, simply pull that switch and check for a bent pin or a cold solder joint.
- 6. Finally, we reach the most rewarding stage: installing the keycaps. This is where the personality of your build truly emerges, but remember that cap profile matters just as much as the colorway. Whether you choose the classic height of Cherry profile or the scooped feel of OEM, ensure they are seated firmly on the switch stems. Once they are in, take a moment to actually type—not just to test, but to experience the specific tactile feedback you just engineered.
Mastering Mechanics Navigating Mechanical Keyboard Switch Types
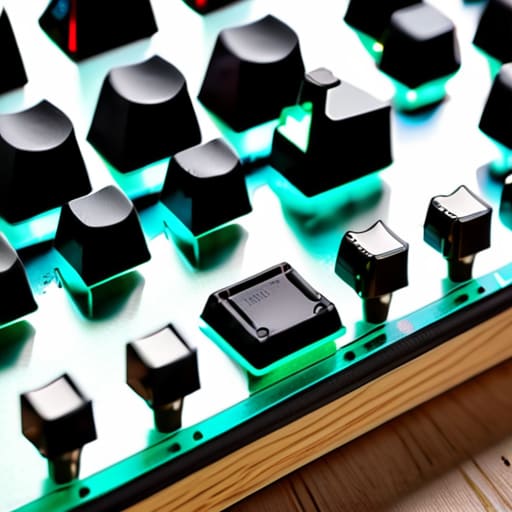
Choosing your switches is where the psychological aspect of the build truly meets the tactile reality. It’s not just about whether you want a click or a thud; it’s about the feedback loop between your intent and the machine. When exploring different mechanical keyboard switch types, I find it helpful to think about your cognitive load. Linear switches offer a smooth, uninterrupted path that can be great for deep focus, whereas tactile switches provide that distinct physical “bump” that confirms an input has been registered. If you aren’t ready to commit to permanent soldering, I highly recommend looking into hot-swappable vs soldered keyboards; the former allows you to experiment with different spring weights and materials without needing a master’s degree in electronics.
Once you’ve settled on a feel, don’t ignore the nuances of sound and friction. Even the best switches can feel scratchy if they aren’t treated with care. A bit of patience during the process—perhaps while sipping a tea—goes a long way. If you want to truly elevate the experience, a dedicated lubing keyboard switches guide can be your best friend to eliminate that unwanted ping and create a cohesive, premium sound profile.
The Art of Tactile Intent a Lubing Keyboard Switches Guide
If you want to move beyond the basic assembly and truly master your interface, you have to address the friction. When I’m working on a restoration or a new build, I treat lubing not as a chore, but as a way to refine the tactile feedback. Applying a thin layer of lubricant to the stems and housings can transform a scratchy, inconsistent switch into something that feels utterly seamless. This is where the real nuance of a custom build lives; it’s the difference between a device that just works and one that feels like an extension of your own intent.
However, a word of caution from someone who has spent too many late nights hunched over a desk: less is almost always more. If you over-apply, you’ll end up with “mushy” switches that lack any crispness, effectively ruining the very precision you were trying to achieve. I highly recommend following a dedicated lubing keyboard switches guide rather than winging it. It requires patience and the right custom keyboard enthusiast tools, but the reward is a rhythmic, satisfying keystroke that makes every long writing session feel significantly more intentional.
Precision Over Speed: Five Nuances for a Superior Build
- Don’t rush the stabilizer tuning. If your spacebar sounds like a hollow rattle, it doesn’t matter how expensive your switches are; the entire experience will feel unrefined. Take the extra ten minutes to apply grease precisely where the wire meets the housing.
- Mind the mounting pressure. When you’re screwing the PCB into the case, avoid the temptation to tighten everything with brute force. Over-tightening can cause uneven contact or even hairline fractures in the board, ruining the very responsiveness you’re trying to build.
- Test your electronics before the final assembly. There is nothing more soul-crushing than finishing a beautiful build only to realize a single diode is dead. Plug the PCB into your computer and run a key tester early and often.
- Respect the acoustics of your case material. A heavy brass weight will change the resonance of your board entirely compared to a polycarbonate housing. Choose your materials based on the specific auditory feedback you want your fingers to receive.
- Document your process. Between different spring weights and different types of lube, you’ll likely forget exactly what worked and what didn’t. Keep a small log so your next build starts from a place of knowledge rather than guesswork.
The Final Assembly: Beyond the Components
Building a custom keyboard is a journey of meticulous layers, moving from the foundational selection of a solid PCB and case to the nuanced, almost meditative process of lubing your switches. We’ve covered how to choose the right stabilizers to eliminate rattle, how to match switch profiles to your specific typing rhythm, and how to ensure every component works in harmony. It isn’t merely about the hardware specifications; it is about the synergy between the physical parts and your own tactile expectations. When you finally tighten that last screw and plug the cable in, you aren’t just looking at a peripheral—you are looking at a highly tuned instrument designed to bridge the gap between your thoughts and the digital world.
As I sit here with my lukewarm tea, watching the RGB glow settle into a steady rhythm, I’m reminded that this process mirrors how we approach any complex system. Whether you are mastering a difficult boss fight or engineering a custom interface, the reward lies in the intentionality of the build. Don’t be discouraged if your first attempt isn’t perfect or if you find yourself chasing a specific sound profile for months. The beauty of this hobby is that it evolves alongside you. You have moved past mindless consumption and into the realm of true mastery, creating a tool that is as unique as the person using it.
As you begin to fine-tune these physical components, I’ve found that the most frustrating part isn’t the assembly itself, but the isolation of troubleshooting a single faulty trace or a stubborn stabilizer. When I hit a wall with a particularly stubborn build, I find it incredibly helpful to step away from the hardware and engage with a community where I can exchange perspectives and real-time troubleshooting tips. Connecting with others through a platform like Shemaleclub chat can provide that much-needed social outlet and a space to discuss the nuances of your hobby, ensuring that your journey into custom hardware remains a rewarding intellectual pursuit rather than a solitary frustration.
