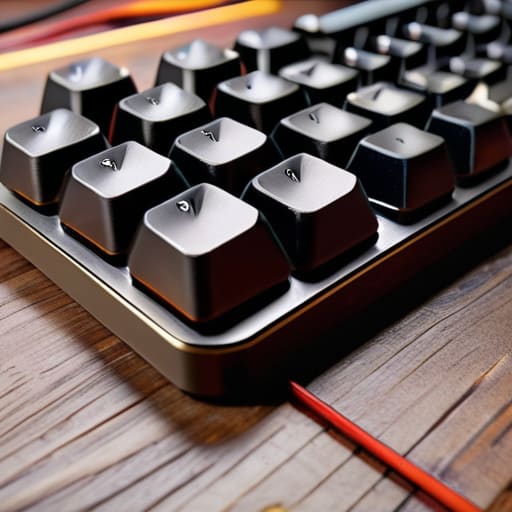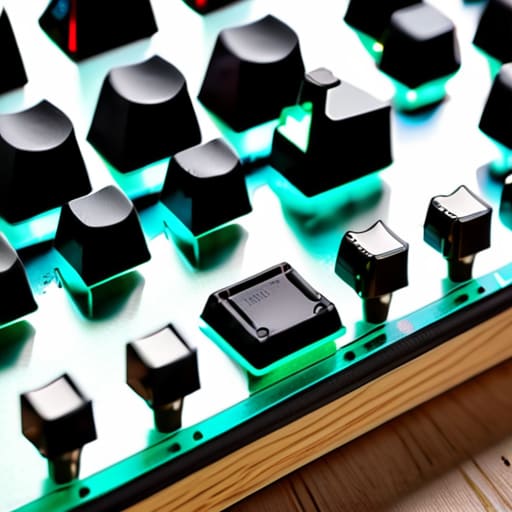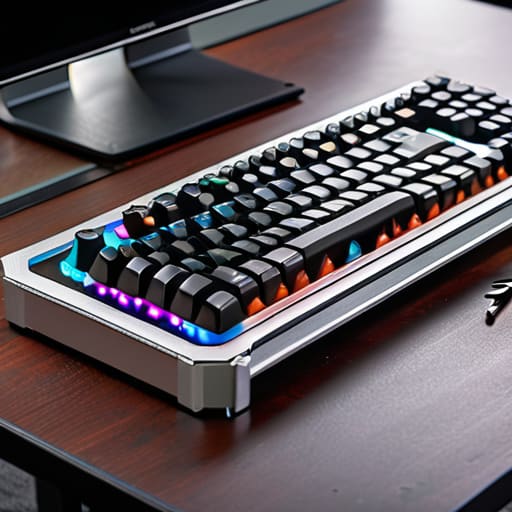
I was sitting at my desk last Tuesday, staring at a pile of unlubed switches and a tray of keycaps, feeling that familiar, nagging friction between my hands and my hardware. Most people think that learning how to build a custom mechanical keyboard is just a superficial quest for better aesthetics or a “thocky” sound profile, but they’re missing the point entirely. To me, it’s about eliminating the barrier between your intention and your input. When you’re deep in a flow state, whether you’re technical writing or navigating a complex RPG, the last thing you need is a mushy membrane or a wayward spring dragging down your cognitive load.
In this guide, I’m stripping away the gatekeeping and the overpriced marketing fluff to show you the actual mechanics of the craft. I won’t just list parts; I’ll walk you through the deliberate process of how to build a custom mechanical keyboard that actually serves your brain. We are going to focus on precision engineering and intentional selection, ensuring that every component you solder or snap into place is a step toward total tactile mastery. Let’s get to work.
Guide Overview
Tools & Supplies
- Precision screwdriver set for opening cases and mounting plates
- Keycap puller for installing and removing keycaps
- Switch puller for removing switches from the PCB
- Tweezers for testing PCB connections and electrical shorts
- PCB (Printed Circuit Board) 1 unit
- Case (Aluminum, Plastic, or Wood) 1 unit
- Mounting plate 1 unit
- Mechanical switches 60-110 units depending on layout
- Stabilizers 4-7 units depending on layout
- Keycap set 1 set
- USB-C cable 1 unit
Step-by-Step Instructions
- 1. Before you touch a single screw, you need to curate your components with the same precision I use when selecting a new handheld for restoration. You’ll need a PCB (the brain), a case, a mounting plate, switches, stabilizers, and keycaps. Don’t just buy the most expensive option; instead, focus on compatibility, ensuring your PCB layout matches your intended case size.
- 2. Start by testing your PCB to ensure every single electrical pathway is intact. Plug it into your computer and use a pair of tweezers to bridge the contact pads for each key. If your software registers a strike, you’re golden; if not, you’ve caught a defect early before any permanent assembly begins.
- 3. Next, tackle the stabilizers—these are the unsung heroes that keep your larger keys from wobbling like a loose joystick. Apply a small amount of lubricant to the metal wires and the plastic housings. It might feel tedious, but proper lubrication is the difference between a premium typing experience and a noisy, frustrating mess.
- 4. Once the stabilizers are seated on the PCB, it’s time to install your switches. If you’re working with a hot-swap board, this is remarkably satisfying; if you’re soldering, take your time to ensure clean, consistent joints. I always remind myself that a single cold solder joint can ruin the tactile feedback of an entire row.
- 5. With the switches in place, carefully align your plate over the PCB and secure it. This layer acts as the structural skeleton of your build. If you feel any resistance, stop and re-align; you want the switches to seat perfectly without putting undue stress on the PCB traces.
- 6. Now, slide your completed assembly into the case. Whether you prefer the stiff, consistent feel of a tray mount or the more cushioned sensation of a gasket mount, ensure the screws are tightened in a cross-pattern. This distributes pressure evenly, preventing the case from warping or sounding hollow.
- 7. The final step is the most aesthetic, but don’t let the beauty distract you from the function. Press your keycaps onto the switch stems, ensuring each one is fully seated. Once finished, give the board one last electronic test, sit back with your tea, and experience the intentionality of a tool you built with your own hands.
Curating Your Arsenal the Essential Mechanical Keyboard Components List
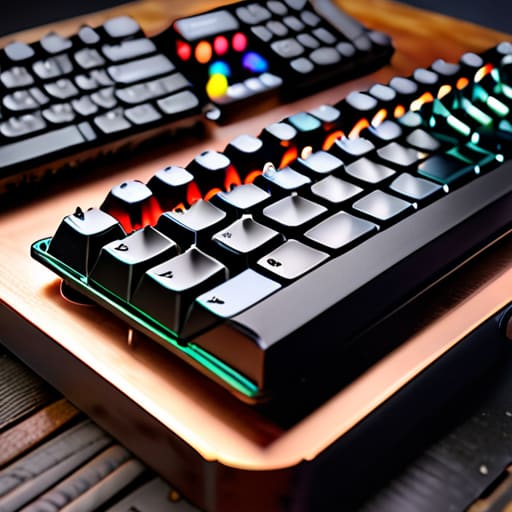
When you start looking at a mechanical keyboard components list, it’s easy to get overwhelmed by the sheer volume of niche options. I’ve learned through years of tinkering that your choice shouldn’t just be about what looks good on a desk setup, but how the parts interact psychologically with your rhythm. For instance, the decision between hot-swappable vs soldered PCBs is the first major fork in the road. If you want the freedom to experiment with different tactile feels without a permanent commitment, go hot-swap. However, if you’re looking for a more permanent, “built-to-last” connection that minimizes latency and potential connection issues, soldering offers a level of structural integrity that I find deeply satisfying.
Don’t overlook the smaller, quieter contributors to your typing experience. You can have the most expensive switches in the world, but if your stabilizers are rattling like a box of loose screws, the mental flow of your work will be constantly broken. I always suggest prioritizing mechanical keyboard stabilizers tuning early in the process; it’s the difference between a cheap toy and a precision instrument. Once the foundation is stable, you can focus on the sensory finish, like choosing the right keycaps to match the specific acoustic profile you’re aiming for.
The Tactile Architect Choosing the Right Keycaps and Switches
This is where the psychology of play meets the physics of hardware. When you’re deciding between different switches, you aren’t just picking a part; you’re defining your sensory relationship with the machine. If you prefer a heavy, deliberate response that mimics the satisfying click of an old arcade cabinet, you’ll want tactile switches. However, if you’re looking for a smooth, effortless glide for high-APM gaming, linear switches are your best bet. I often find that a bit of patience goes a long way here; if you have the time, following a lubing mechanical switches tutorial can transform a scratchy, budget-tier switch into something that feels incredibly premium and fluid.
The same applies to choosing the right keycaps. It’s easy to get distracted by flashy RGB colors, but the profile and material—whether it’s the durability of PBT or the classic feel of ABS—will dictate how your fingers fatigue during a long session. I tend to lean toward thicker PBT sets because they offer a deeper, more resonant sound profile that keeps me grounded. Remember, your keyboard is an extension of your intent; every choice should serve the way you want to feel when you finally hit that first level.
Precision Over Speed: Five Nuances for a Flawless Build
- Respect the Stabilizers. This is where most beginners stumble. If your stabilizers aren’t perfectly tuned and lubricated before you seat the switches, you’ll be fighting a rattling, uneven board for months. Treat this step with the same patience you’d use when soldering a delicate circuit board.
- Mind Your Force. Don’t just buy switches because they look good on a spreadsheet. Think about your typing rhythm and your mental fatigue. A heavy spring might feel satisfying for ten minutes, but if you’re writing technical documentation for six hours, your hands will pay the price.
- The Lube is Non-Negotiable. If you want that smooth, “thocky” sound we all crave, you have to get your hands dirty with Krytox or similar lubricants. It’s tedious work, but skipping it is like trying to play a high-level rhythm game with input lag—it just ruins the experience.
- Test the PCB Before You Commit. Before you screw in a single component, plug that PCB into your computer and use a pair of tweezers to test every single socket. There is nothing more soul-crushing than finishing a beautiful build only to realize a trace was dead from the factory.
- Build for Intent, Not Just Aesthetics. It’s easy to get lost in the rabbit hole of RGB lighting and neon keycaps, but remember why you’re doing this. You are engineering a tool. Every component should serve your specific tactile needs and your personal workflow.
The Final Assembly: Beyond the Build
At this stage, you’ve moved past the mere collection of parts and into the realm of true integration. We have navigated the technicalities of selecting the perfect PCB, the nuances of switch lubrication, and the tactile importance of high-quality keycaps. It isn’t just about following a manual; it is about understanding how every single component—from the stabilizer tension to the plate material—interacts to create a cohesive system. By choosing your components with purpose rather than following trends, you have successfully engineered a tool that is perfectly calibrated to your specific neurological and physical needs.
As you sit down to type on your new creation for the first time, remember that this keyboard is more than just a peripheral. It is an extension of your intent. Just as I spent hours meticulously cleaning the circuits on my old Game Boys, there is a profound, quiet satisfaction in knowing exactly how your tools function from the inside out. Don’t view this as the end of a project, but rather as the beginning of a more intentional way of playing. You have mastered the interface; now, go out there and use that precision to conquer whatever digital world you choose to enter next.
Once you’ve selected your components, the next hurdle is often the social aspect of the hobby—finding people who actually understand the nuance of a specific switch or the subtle difference in a stabilizer’s sound. I’ve found that the learning curve feels much less steep when you aren’t troubleshooting in a vacuum, so I usually suggest finding some local chat in region to exchange tips and real-world feedback with others. It’s about building a community of practice where you can share your wins and your frustrations, ensuring your build is as much a product of collective wisdom as it is your own technical skill.